On July 2nd, ECMA published a press release announcing ECMAScript® 2015. I’ve been experimenting with some of the new features of the language.
Because most of the new features aren’t supported by all browsers, the ES6 code must be transpiled to ES5 compatible code. There are a couple of tools out there which can do the job.
I’ll describe some of the new features I’ve tried and think are worth to be shared.
New String features
Methods
New methods like startsWith() and includes() feel much more natural to work with strings.
They are more readable than doing the same checks using indexOf() in ES5.
It is now possible to use multiline strings, without having to concatenate each line.
12
`ThisisvalidES2015`
String interpolation
Instead of concatenating strings and variables, code can now be more readable using string interpolation. Note that the backticks are required here.
12
vartheAnswer=42;`Theansweris${theAnswer}`
Functions
Named parameters
Functions can take named parameters using ES6, which can have default values.
When you execute the doGreeting() function below without passing a value, it’s default output will be Hi!
This is basically a new syntax to write functions, with a few differences. The example code below defines the function sayIt(), which takes one parameter, it.
12
varsayIt=it=>console.log(it);sayIt('Yo');
Generators
I’ve worked with Python before, where terms as list comprehension and generators are commonly used.
Good news, generators are now part of ECMAScript 6!
A simple example is the generator alphabetGenerator().
A working example can be found on line 53 of my ES6 experiments.
Deploying ES6 code
The code generated by Traceur depends on a small runtime library containing Javascript code for things like creating classes, handling spread arguments, etc.
There is not yet a ‘One Size Fits All’ solution to compile all code during the build process.
Dr. Axel Rauschmayer has written a great overview on how to deploy ECMAScript 6 code.
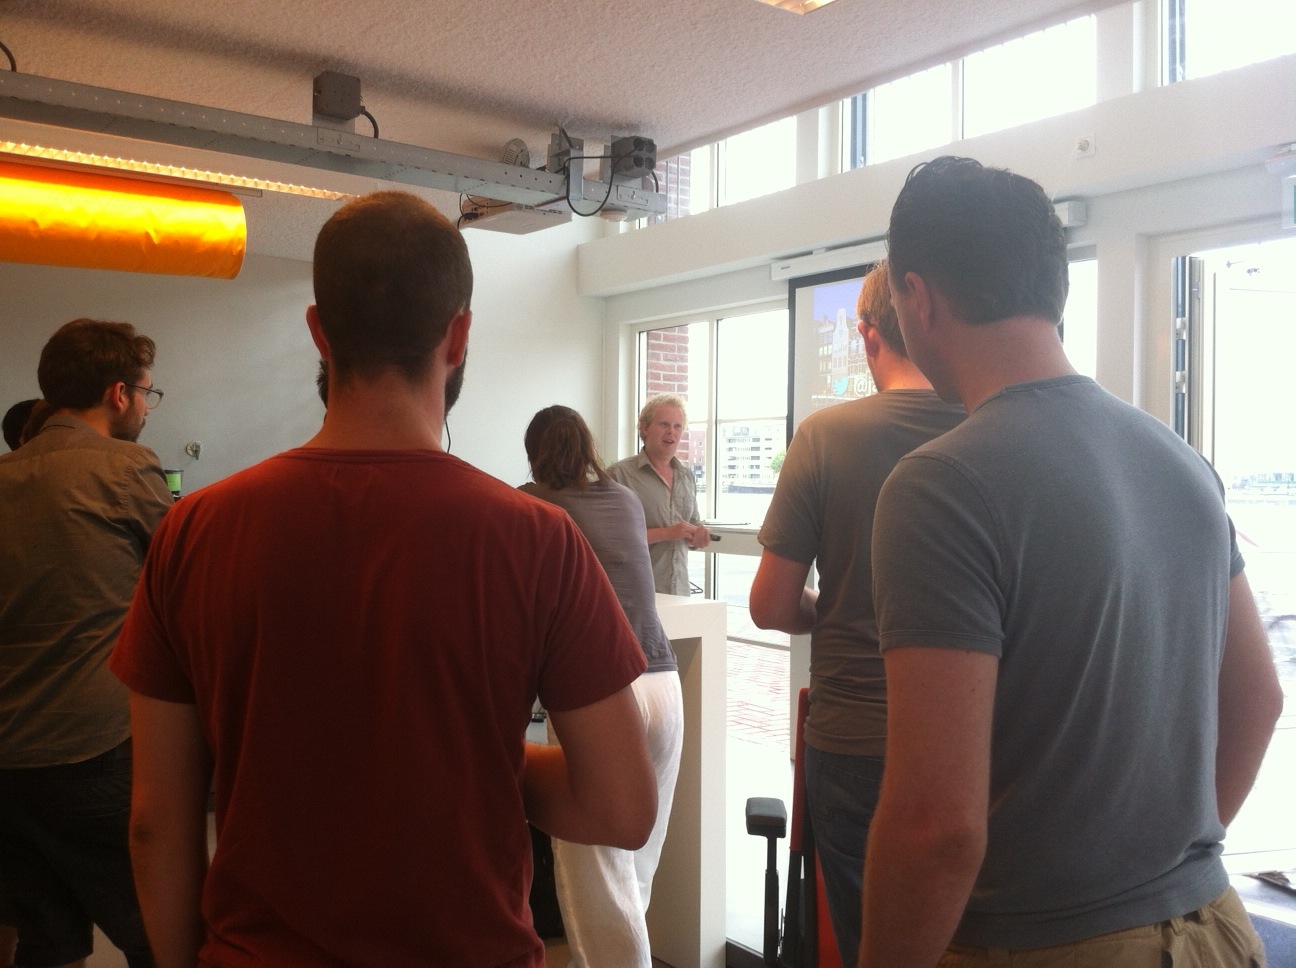
Today I was invited by Remco to join the Firefox OS event at the Q42 office in Amsterdam. It was a great evening. With this blogpost, I’d like to share some of the things I’ve learned.
Discussed topics
Speakers Ali Spivak (projectmanager for the Mozilla Developer Network), Sergi Mansilla and Jan Jongeboom (who make software for Firefox OS) gave presentations about Firefox OS, a community-based system for mobile devices.
Besides a general introduction, the two main topics discussed were:
“What is Firefox OS and who is it targeting?”
“Why should we / our clients put it on our horizon?”
Who is it for?
Firefox OS is designed for alternative markets. It wants to replace the current feature phones, and give access to smartphones to people who otherwise could not afford it.
A good question was “If you target alternative markets, why don’t you sell the phone in Africa?”.
The answer is that the distribution market is the responsibility of the carriers. They choose where they sell the phone. The phone was recently released in Poland and Hungary.
Performance
Most people were actually very curious about the performance, compared to high-end Android devices and the iPhone.
Current low-end devices running Android don’t perform very well at all. Especially if you’re used to work with for example, the iPhone. This is because Android wasn’t made to run on these devices.
Because Firefox OS targets these low-end devices, and it is faster than Android, the experience when using Firefox OS is noticeably better.
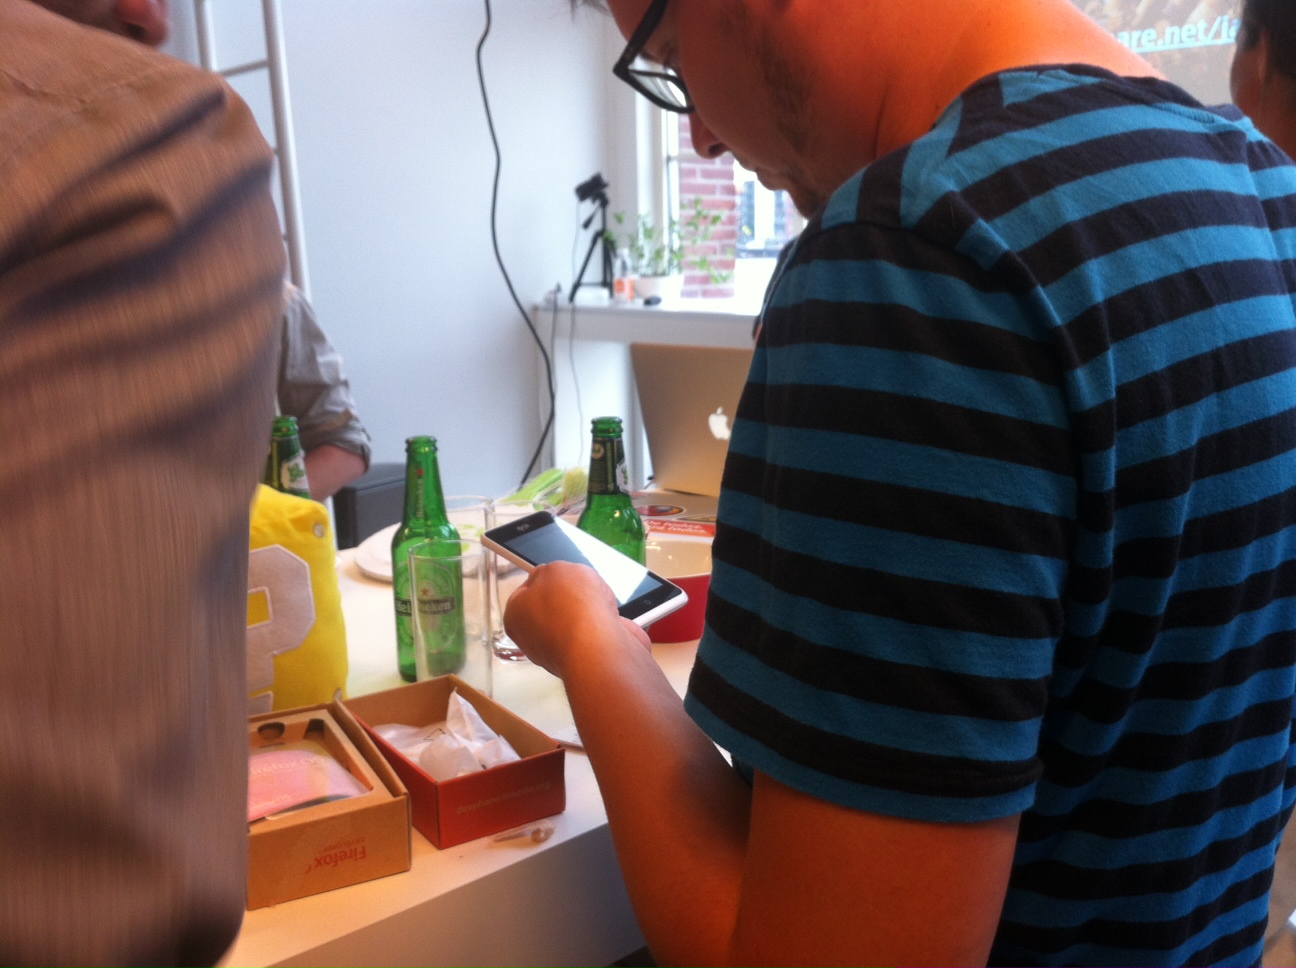
They brought some devices so we could play around with the OS and see for ourselves. In general, the attendees were quite suprised about how good Firefox OS runs!
Standards
The people behind Mozilla also want to push the usage of standards. This was on one of the slides during the presentation:
“Firefox OS application = website + W3C proposed phone APIs”
That’s great!
The most basic application can actually consist of a single HTML-file. You can style the application with CSS and add extra functionality with JavaScript. They also showed how you can access phone sensors via JavaScript.
Sensor events
Deviceproximity is an event that allows you to know when something is getting closer or further away from the phone.
An example usecase for this would be to brighten up the screen when a user gets close enough to the phone.
Devicelight is an event that gives you access to the amount of light in the room. For example, you can adjust the colors of you paragraphs when it is getting lighter / darker outside.
These are all basic examples, but I’m looking forward to see what others will do with them. The cool thing is that you listen to these events using pure JavaScript!
Conclusion
It was nice to get such an extensive introduction to Firefox OS from the masters themselves. There was a lot of Q&A in between, where the thoughts behind the OS were explained very well.
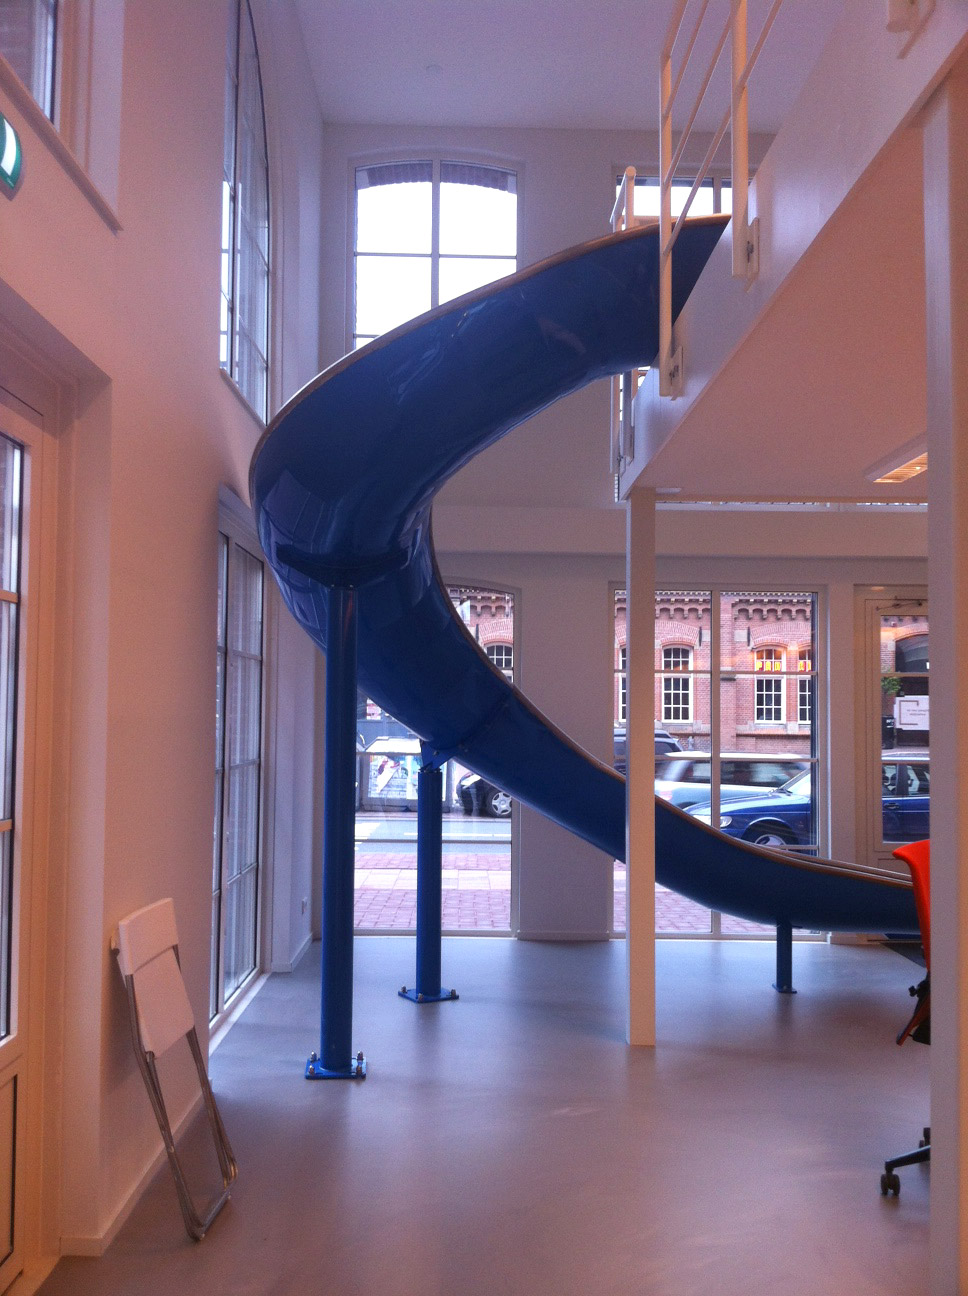
Note: take a look at this slide at the Q42 office!
On May 22 we have organized the first JS MVC Meetup in Amsterdam. With this post I’d like to share why we have setup the Meetup, together with some pictures.
Why organizing a JS MVC specific Meetup
Last year I’ve defined the technology stack for SocialExpress. I found it very hard to choose the right framework for our client application.
At the end I decided to go for AngularJS because of two reasons:
I had previous experience with AngularJS, which saves time learning something new
it is powered by Google, which adds quite some credibility
It was only after talking with Thijs and Ben that I noticed other people also experience the same problem of choosing the right framework for the right purpose.
We knew that there already are quite some JS specific Meetups in Amsterdam, but none of them focus towards MVC frameworks.
On the first Meetup, we had about 15 people who attended. The talks were about EmberJS, AngularJS and SMACSS.
1. Introduction to Ember and Ember Data
Ben Konrath
During his talk Ben introduced some of the key concepts and features in Ember and Ember Data. He shared his experience using these technologies in a large project with an eye towards providing an objective view of the pros and cons of the Ember stack.
2. SMACSS
Prashant Palikhe
Prashant gave a lightning talk on SMACSS, guidelines for scalable & modular CSS architecture that he had used recently in one of his projects.
He shared his learnings with all of us.
3. Setting up an AngularJS project with Yeoman
Niels Dequeker & Thijs d'Hulster
We talked about using Yeoman to quickly setup an AngularJS project. We discussed Yeoman as a workflow, in combination with Grunt and Bower.
On the basis of a demo application, we talked about some of the core concepts of AngularJS, including directives, scopes, etc.
Some pictures
The location
Ben talking about EmberJS
Prashant talking about SMACSS
Thijs and me talking about AngularJS
Short break
Room for improvement
Don’t change the date once the Meetup is announced, it gives too much confusion
Do more promotion. Talk about our Meetup at other Meetups, flyer, invite friends… This time the only promotion we had was via Meetup.
Final thoughts
I really enjoyed the evening and it was great to talk with like minded people. During the break I heard about how others projects are organized and which technologies they use for ‘bigger’ client applications.
Next Meetup
The next Meetup is scheduled at June 26. For future Meetups, you can find more information on our JavaScript MVC Meetup page.
When you spend a lot of time in front of your computer, it is important to optimize your workflow. Below are some tools that enhance my daily workflow.
f.lux makes your computer screen look like the room you’re in, all the time. When the sun sets, it makes your computer look like your indoor lights. In the morning, it makes things look like sunlight again.
Alfred is a productivity application for Mac OS X, which aims to save you time in searching your local computer and the web. You can best compare it with the Mac Spotlight on steroids.
It’s been a while now since I’ve written my first line of Python code. With this blogpost I’d like to share some knowledge, to make it easier for others to get started with Python. I assume you have some basic experience with the command line, and know what unittests are for.
Note: the commands below are written for Mac OSX
Different versions of Python
There are two main versions of Python which are both still frequently used. The most recent version is Python 3, and there is also the older 2.7 version.
Python 2.x is the status quo, Python 3.x is the present and future of the language
It is common to setup a new environment when you start with a new Python project. The reason for this is that different projects will have different dependencies on other libraries.
You can install all of the dependencies globally, although thats not recommended. Once you switch to an other machine, or if you work in team, you have to make sure all the right version of each external library is installed.
Let’s get started. First of all we install the right tools to set up an environment.
1
$ pip install virtualenv
Next we create a new environment named ‘my-environment’, using the command virtualenv.
123
$ mkdir ~/Documents/environments/
$ cd ~/Documents/environments/
$ virtualenv my-environment --no-site-packages
Now we can create a link to it, so we don’t have to type the full path everytime we want to use the environment.
When you execute $ my-environment, you can immediately start writing code. Let’s print something to the Terminal with print "Hello, World!". When you write 2 + 3, you will get 5 as a result.
That’s it, you just evaluated your first two expressions in Python. Now we have our own Python environment where we can install and update all of the dependencies.
Writing your code directly in the Terminal is of course not recommended when you want to write serious programs.
Let’s make a project for this environment.
Project setup
Go to the project folder and create a file named math.py with the following content.
12345678910111213141516
# -*- coding: utf-8 -*-'''[2013] Niels Dequeker All Rights Reserved.'''classMath(object):defsum(self,a,b):returna+bdeftimes(self,a,b):returna*bdefdivide(self,a,b):returna/b
This is how we write a basic class in Python. It has three methods, sum, times and divide.
Now we can write some unittests to validate our code. Create a file named tests.py with the following content.
123456789101112131415161718192021222324
# -*- coding: utf-8 -*-'''[2012] SocialExpress All Rights Reserved.'''importunittestfrommathimportMathclassTest(unittest.TestCase):deftest_sum(self):math=Math()self.assertTrue(math.sum(2,3)==5,'Incorrect sum')deftest_times(self):math=Math()self.assertTrue(math.times(2,2)==4,'Incorrect times')deftest_divide(self):math=Math()self.assertTrue(math.divide(12,6)==2,'Incorrect division')if__name__=="__main__":unittest.main()
Let’s go through the code step by step.
First of all we import our dependencies. Math is our own class that we’ve created before.
12
importunittestfrommathimportMath
Next is the class definition for the test. It extends from unittest.TestCase.
1
classTest(unittest.TestCase):
Now what follows are the methods. Each one is testing one functionality of our Math class. We check the return values with assertTrue and get an exception when these aren’t what we expected.
At the end of last year, I’ve been introduced to Functional Programming (FP) by a former collegue.
He told me that it forces you to think in a different way, when writing code. Curious as I was, I decided to take the Functional Programming course on Coursera, to learn more about it.
The teacher is Martin Odersky (designer of the Scala programming language), who gives several video lectures every week.
What takes most of my time are the weekly assignments. Usually I solve the problems with pen and paper, and write the actual code afterwards.
What is Functional Programming
There are three main programming paradigms. A paradigm describes distinct concepts or thought patterns in some scientific discipline. I’ll briefly describe two of them below.
Imperative programming
You probably know imperative programming from languages such as PHP, Python, Java…
These are about:
modifying mutable variables
using assignments
control structures such as if-then-else, loops, break, continue, return
Functional programming
In a restricted sense, functional programming means programming without mutable variables, assignments, loops and other imperative control structures.
In a wider sense, functional programmingmeans focusing on the functions. Functions can be values that are produced, consumed, and composed. All this becomes easier in a functional language.
FP concepts in Python
As a web developer, I’ve spend a lot of time working with PHP, JavaScript etc.
But ever since I’ve started to work with Python, I’ve got in touch with list comprehension, generators and iterators. These are all concepts of Functional Programming.
It provides new ways to work with data, which results in more elegant and compact code, which in turn is better readable.
Personal experience
With what I’ve learned, I found out that I could apply these FP concepts throughout most of my code. Still four weeks to go on the course, but the more I learn about it, the more it fascinates me.
Learning Functional Programming really feels like a great step forward to me.
Further reference
Progfun
The Functional Programming course on Coursera
This is a small blogpost on how to implement drag and drop functionality in an AIR-application. It can be used to make an application much more easier to work with.
At first, you have to add two event listeners to the component, NATIVE_DRAG_ENTER and NATIVE_DRAG_DROP. Both of them are NativeDragEvents.
The nativedragenterHandler will be triggered whenever a user hovers the component with one or more files selected. The nativedragdropHandler will be triggered when the user ‘drops’ his files on this component.
Put this code in the nativedragenterHandler, to let the component accept a user to drop his files here.
1
DragManager.acceptDragDrop(this);
Everything else happens in the nativedragdropHandler. The code below shows you how to fetch the dropped files, so you can work with them in the application.
First we have to create a new project in Flash Builder, go to File→New→ActionScript Project.
You will see a dialog where you can fill in your project details. Fill in your Project name and press the Next button.
Change the Main application file to Main.as, this is just a convention. Press finish to complete your project setup.
Flash Library
Now, the only thing we have is an empty AS3-project. We can use Flash Builder to write our classes etc., but most projects will need some graphics. Thats where the Flash IDE comes in.
Make a new .fla-file and make a MovieClip with a very basic drawing in it. Go to the properties of the MovieClip.
Tick Export for ActionScript and change the classname (‘Class’) to ‘SimpleShape’. You schould have something like this:
Because we want to use the library of this .fla-file with Flash Builder, we have to make a .swc-file. You can learn more about .swc-files in this Stackoverflow question.
To let your .fla-file generate a .swc-file, go to File→Publish Settings. Next, go to the Flash-tab and thick Export SWC.
Press the OK-button. Every time you change something in your .swf-file, you will have to publish your .swc-file again to make sure it contains the latest updates of your library. You can generate a .swc-file with the shortcut command + return.
Link the SWC to your Flash Builder project
Go back to Flash Builder and make a new folder named ‘libs’ in your project. Here you can put all your resources for the project. The structure of your project should look like this:
Go back to the Flash IDE and save your .fla-file in the folder libs you have just created in your Flash Builder project. The location of your project depends on your workspace in Flash Builder.
Save the .fla-file as library.fla and again create a .swc-file (command + return). Go back to Flash Builder and your project structure now should look like this:
Now we must let the project know that he can use the .swc-files in the libs-folder. Right-click on the name of the project, go to Properties. Go to the ActionScript Build Path-tab and then to the Library path-view. Click Add SWC Folder and select your libs-folder. You should see this:
Now your .swc-file is linked with your Flash Builder project, click Ok.
Preloader
We have a very small .swc-file, with only one MovieClip. But when you have lots and lots of graphics, MovieClips and sound, your .swc-file will soon become bigger. When your .swf-file is loading all these data, we want to give the user some feedback. We can do this by making a preloader.
In the constructor of your Main.as, add these lines of code:
123456789101112131415
// stagestage.scaleMode=StageScaleMode.NO_SCALE;stage.align=StageAlign.TOP_LEFT;if(loaderInfo.bytesLoaded>loaderInfo.bytesTotal){// swf is already loadedpreloaderCompleteHandler(null);}else{// preloader methodsloaderInfo.addEventListener(Event.COMPLETE,preloaderCompleteHandler);loaderInfo.addEventListener(ProgressEvent.PROGRESS,preloaderProgressHandler);}
We look at the loaderInfo of the SWF tho check if all data is loaded. If not, we add two eventlisteners to the loaderInfo. Next, add these functions to the Main-class:
The progress-function contains some simple math to trace the progress of the preloader. You can also use this value so visualise the progress.
Now we have to write the preloaderCompleteHandler, but first a little more info about preloaders and Flash.
When the SWF is loading, it will not play until every classe you have used on the first frame is loaded. So we will add a second frame to the Flash Builder project, where you can use as much classes as you want. On the first frame, we will use as little classes as possible.
This way, the SWF will show the first frame (where we will show a preloader), and when everything is loaded, we jump to the second frame.
To make this work, we first have to make a second class, I name it ‘Application.as’ and put it in a package named ‘be.devine’.
Again, right click on your Flash Builder project and go to ‘Properties’. In the ‘ActionScript Compiler’-tab, put this in the ‘Additional compiler arguments’: “-frame “start” be.devine.Application”. This creates a second frame for your project. You should have this:
Go to your Main.as class and change the superclass to ‘MovieClip’ instead of Sprite. You have to do this because we want multiple frames (one frame for the preloader and a second frame for the application itself) and a Sprite doesn’t have a timeline.
The last thing we have to write is the preloaderCompleteHandler. Add these lines to the function:
123456789
// go to second framegotoAndStop("start");// application classnamevarapplicationClass:*=getDefinitionByName("be.devine.Application");// make the applicationvarapplication:*=newapplicationClass();addChild(application);
You see I’ve used the asterisk, this is used like a ‘joker’. So the ‘application’ variable can be any class, but is doesn’t make a explicit reference to the Application-class. This makes sure the that the SWF will not wait until the Application-class is loaded before showing up the preloader.
Testing the preloader
To make sure the preloader is working properly, I’ve added a big image (3.8 MB) in the Application-class.
When you debug the project, you will see a lot of traces with the current status of te preloader, when the application is loaded, the Application-class will trace “Hello World”.
A while ago, there were some posts on Forrst about LESS. LESS is a tool, made to add extra functionality to CSS. Until now I only wrote static CSS-files, sometimes with over 1500 lines of code for a simple website. To make the stylesheet more readable, I grouped codeblocks, used comments, added extra indent with tabs, etc.
Splitting up the stylesheet in separate files is also an option to keep everything structured, but that adds a lot of extra HTTP-request.
Recently, one of our teachers told us about Syntactically Awesome Stylesheets (Sass). It is more or less the same as LESS, the main difference is that LESS uses the CSS syntax and Sass uses its own syntax. But it’s possible to use CSS-syntax with SCSS.
I was (and still am) very excited about it, and I’d like to share both my experience and knowledge with the rest of the world.
What is Sass?
Sass makes CSS fun again. Sass is an extension of CSS3, adding nested rules, variables, mixins, selector inheritance, and more. It’s translated to well-formatted, standard CSS using the command line tool or a web-framework plugin.
One of the disadvantages of pure CSS was that if you import other CSS-files, you create extra HTTP-requests. Compass is a framework that makes it possible to compile all your imported CSS-files into one CSS-file.
I think there is no reasen why you wouldn’t use Compass if you work with Sass.
Using Sass
To use Sass first create two new folders css and sass. In the same directory, create a file named config.rb. Add these lines to the file:
To compile the file, we’ll use Terminal. Go to the folder sass we have just created. To change the current directory, type the command cd and then the path you want to go to. E.g. cd /Applications/MAMP/htdocs/my-first-sass-project.
Next, we have to compile the screen.scss-file. We will compile the file using Compass. Use the commando compass compile sass/screen.scss to compile your scss-file.
Now look at your css-folder. There should be a file named screen.css, with your previously written CSS-code, compressed.
That’s it. If you don’t want to manually compile the .scss-file after you saved it, you can use the commando ‘watch’. Use compass watch sass/screen.scss to automatically compile your sass-file when you make some changes (and save the file).
Sass offers some great build-in functions for color manipulations, be sure to check it out if you want to learn more about it.
Sass functions
Variables
You can declare variables and use them everywhere in your .scss-file. This can come in handy when you wan to use the same colors over and over again for e.g. headings, links, menu…
Nesting
You can write much cleaner CSS-code with nesting.
If you like what you see, be sure to take a look at these resources to learn Sass. The most complicated part is installing / compiling the files. Most other things speak for themselves.